Bottle cap pincushion tutorial
- Sidewalk Pirate

- Jan 3, 2021
- 4 min read
As promised. Here is the tutorial for the cute bottle cap pincushions I love so much.
Materials list:
🟢Felt scrap (about 4x6 inch piece should do.)
🟢Fabric scrap (I used a 4x4 cotton quilt square)
🟢Glue
🟢Scissors
🟢Sewing needle and thread
🟢A bit of stuffing, or roving
🟢A bottle cap
🟢A ruler
🟢A pencil, or fabric marker, or ballpoint pen, something to make a mark on fabric
🟢A small button, ribbon, or other decorations and a thimble (optional)

How to:
First measure your bottle cap's circumference. (For a regular 16 oz pop bottle it's about 4 inches) and height (for a regular 16 oz pop bottle that is about 1/2 inch)
Take your felt, or other non fraying piece of fabric (trust me, you want something that doesn't fray) and trace around the bottle cap. With your ruler measure out a strip to cover the outside of the bottle cap (for a regular 16 oz pop bottle that would be a strip of 4 1/4inches by 1/2an inch wide, the 1/4 inch is for overlap).
Now cut out both shapeson the lines, not outside the lines. You don't really want it too big.
Start sewing the shapes together with a simple overcast stitch.
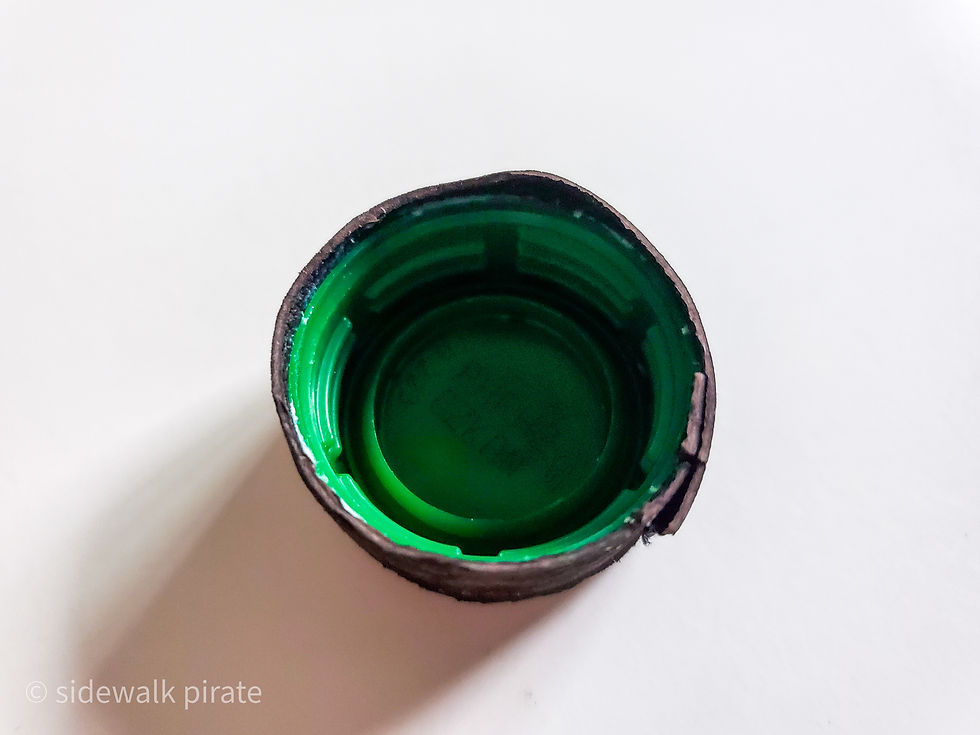
I used a scrap of leather I had laying around, because when you do a tutorial, you want to find the darkest fabric possible to make it really hard to see details🙄... I apologize for that.

Once the two pieces are sewn to each other and before you seam up the overlap, turn it inside out, so the seam will be on the inside.
I usually try it on my bottle cap right about now just to check on things.
Pop some glue on the bottom of your little fabric tube and on the sides of your bottle cap and glue the bottle cap to the inside of the fabric tube. Wait for it to dry. Then sew the overlap shut. That way you can get it nice and snug.

Now take the 4x4 inch cotton square and sew around the entire perimeter with a running stitch.
Do not tie off your thread and do not cut it. Just leave it dangling.

Next turn your attention to whatever you want to stuff the pincushion with. You can even make a small ball of non recyclable plastics and wrap your roving or fiberfil around that. Taking a bit of non recyclable trash out of circulation while you are making something useful. Wrap your fibrefil around that little plastic ball, or, just make sure you have a smooth surface on the fibre fill or roving. This will ensure a smoother top to the pincushion.
Wrap the cotton fabric around the stuffing and start pulling on your thread. This will cinch in the edges of the fabric around your stuffing and create a sort of pillow shape.

Once the fabric is completely cinched shut, secure the little tail ends with the thread end. Tie off and cut thread, but thread your needle right away again and get it ready to sew (make a knot and all)
Pop a spot of glue inside the bottle cap and up the inside edges of the cap. Now stick the pincushion with the gathered side down into the cap. I usually stick it down and hold it with my left hand, while I use a small tool I have to really cram the sides down in the cap. You could use a small kebab stick, or a blunted toothpick, or something else you have on hand, just make sure it won'tpoke holes into the fabric.
Really stick the pincushion down into the cap. You want it to look a bit like a muffin, not a cupcake. No excess hanging over the edge of the cap lol.
Take that needle and thread you got ready before and start sewing the cushion to the edge of the cap cover. I use a modified blind stitch.

Make sure you really sew that cushion in and keep holding it down with your left hand so it won't pop up on you. The stitches will help keep everything nice and tight.
Once that is done, you get out yor ribbons and pretties and chose a bit of decoration.

Usually I sew on a cute ribbon or a bit of lace to cover the stitches where I sewed the cushion to the cap cover to hide the stitches, if they are visible (which they totally were because leather is a pain to sew through). This time I glued the rick rack on, because sewing through the leather was a pain in case I haven't mentioned that before lol lol) I also glued the tiny button to hide where the rick rack met. To give the illusikn of it being sewn on, I simply popped some thread through the button holes and knotted it, then trimmed the ends before gluing it on.

Presto! Tiny pincushion. Perfect gift for the sewing enthusiast in your life. ❤
If you make a bottle cap pincushion let me know. I would love to see them!
Have fun, talk soon.
Xo
B.🐝


Comments